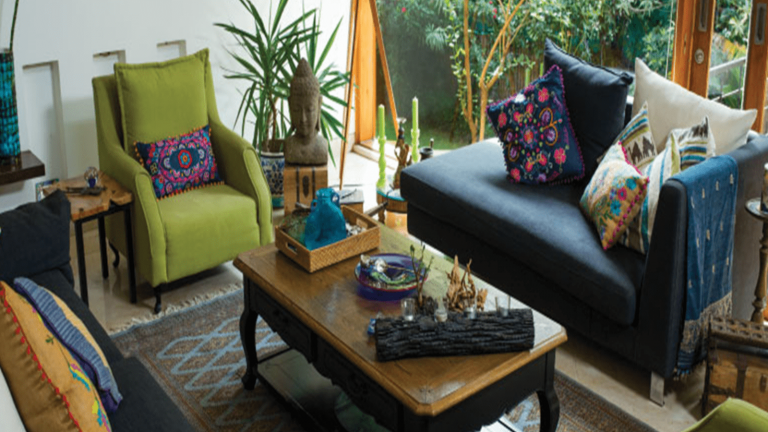
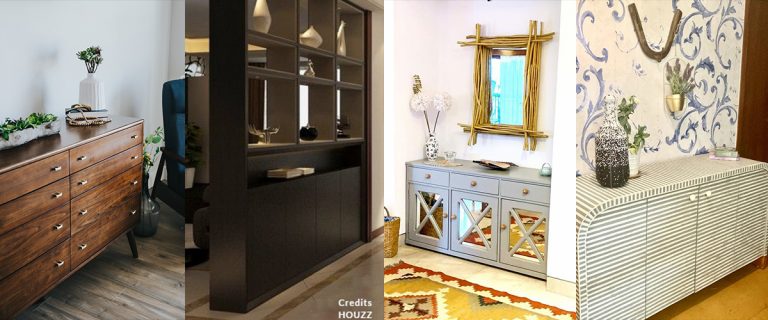
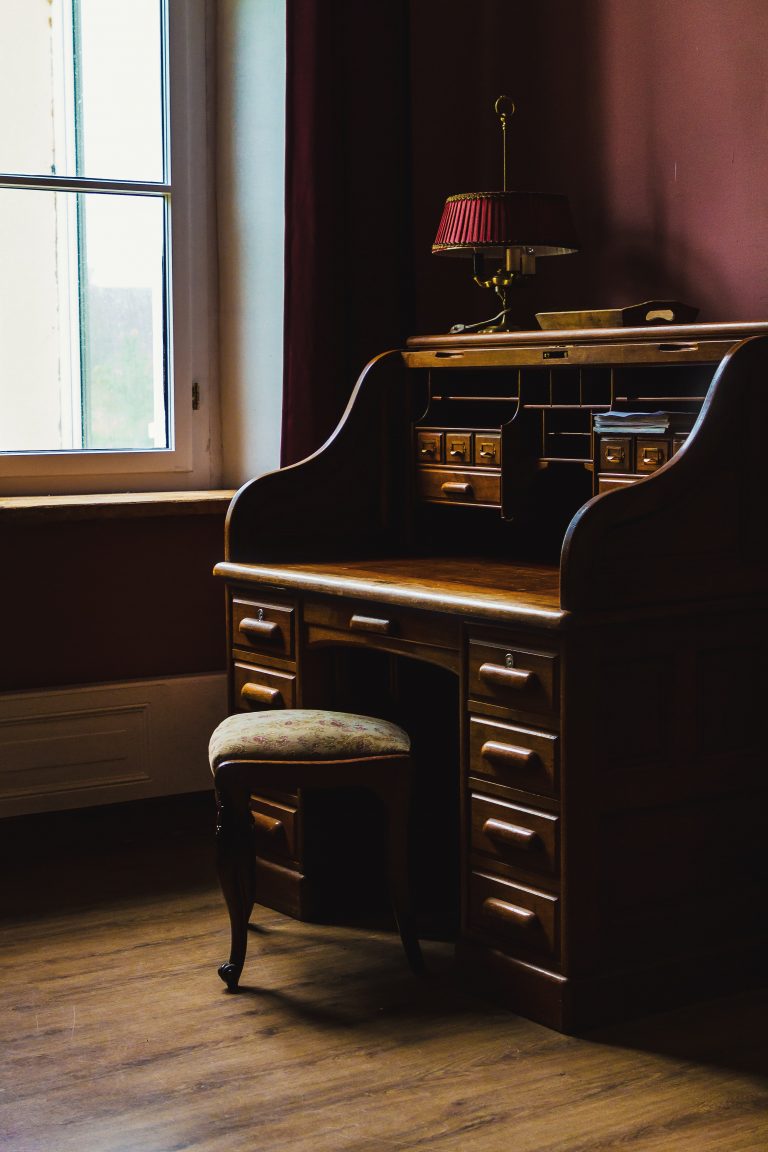
A collectible furniture is considered as an Antique Furniture. The age, rarity, condition, utility or any other unique feature make the furniture antique. An antique furniture speaks about the style, features of the age they were made. Apart from the utility, furniture can be considered as a piece of decorative art depicting religious, cultural significance.
The earliest furniture was simple and practical, but as furniture became crafted and decorated it became an early status symbol. Wealthy homeowners demanded that their furnishings reflect their
status and lifestyles.
Read more about Antique Furniture
Content:
• Features of Antique Furniture
• Antique furniture repair and restoration
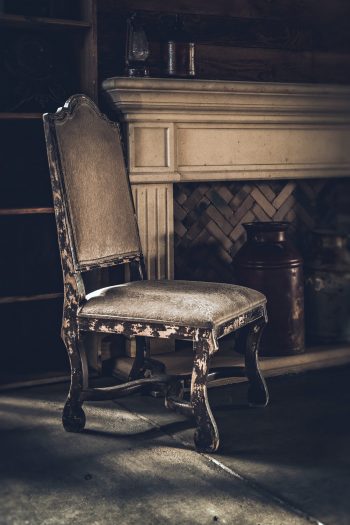
Features of Antique Furniture
The lineage and legacy of antique furniture combines an incredible variety of styles. Hence, collecting and restoring antique furniture can be fascinating. There are some key features that can help identify a piece of antique furniture:
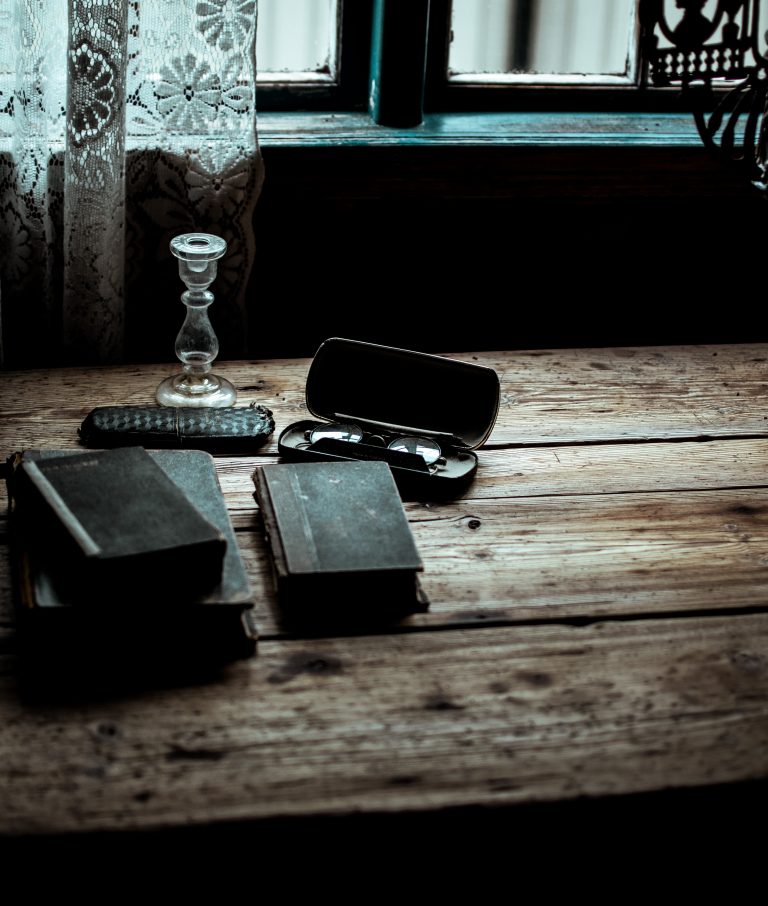
1. Material: Most antique furniture will feature woods
like mahogany, oak, or pine with rich texture and patina.
2. Joinders: Rather than glue or screws, antique furniture is
most often held together using the time-testing techniques of
mortise-and-tenon or dovetail
construction.
3. Marks/Stamps/Labels: Popular makers of furniture would often mark their works in an inconspicuous place – within a drawer, for example – with their name, monogram, or, in the case of these magnificent chairs designed for a friend of Marie Antoinette, an inventory number. If such markings are found on your antique furniture, it would be best to first research your piece’s maker and style so that any restoration you perform
maintains the integrity of the piece.
Antique furniture repair and restoration
To repair and restore your antique furniture to its former best form is a heart-warming experience. Doing so, however, requires specific care and attention. Down below are some of the best practices
to follow when going on board on antique furniture repair and restoration.


1. Survey Surfaces: Before you start any restoration work on your antique furniture, you should first assess the state of your piece. This step is particularly helpful if you are uncertain as to the type of wood or finish used in your furniture. This also makes for a good opportunity to note any damage, such as scuffs or chips, or loose hinges or antique furniture hardware that will need to be addressed later on.
One of the best ways to begin this review is to start by gently cleaning the surface of your antique furniture. Wipe down each surface to ensure that there is no grime or buildup of material that might mar efforts to refinish the surface. You should also work to remove any hardware and also extricate any upholstered components to not to damage these elements during the cleaning process.
You can try out store-bought cleaners – always making sure to test them in a small area first to ensure they do not damage your furniture – or you can make a homemade mixture of one part boiled linseed oil to one part turpentine and one-third parts white vinegar to wipe away excess grime or wax polishes. This combination is effective because the vinegar helps to dissolve dirt while the oil contributes initial conditioning to the wood.
2. Buff or Strip: If cleaning brings your antique furniture back to life, then a finish coat of beeswax and a thorough (but gentle) buff should complete your task at hand. If, though, you determine that your antique piece requires refinishing. When preparing for such a task, keep these helpful tips in mind:
Separate your workspace: stripping is both messy and odorous, so you’ll need to cover your work surface and surrounding footprint to avoid unintended damage.

- Be patient: the timeline to strip, neutralize, clean, sand, and restore can easily take up to two days, and it is best for your antique furniture that you respect that timeline.
- Look for the lint-free: in addition to preparing your workspace, you should also acquire lint-free cloths and brushes to use during your project. Since your goal is a mirror-like finish following your project’s completion, you don’t want to run the risk of errant fibers being left behind on your wood surfaces.
- Consider your stripping agent: you should also select a stripping agent with which you are comfortable working. All-natural strippers can take exponentially longer to strip away years of seal or paint but can be gentler on antique surfaces; stronger strippers can work more quickly but are also often noxious to inhale (regardless of which you use, always ventilate your space).
3. Repair: With your antique furniture restored to its natural brilliance, now is the time to repair any issues that your piece might have. These types of repairs might include:
- Filling cracks with sandable wood filler
- Hammering in any loose nails
- Replacing any stripped screws
- Freeing any stuck drawers
- Reinforcing loose joints, like those in chairs
These types of repairs can be essential to the functionality of your antique furniture and are best completed before the final staining and conditioning of the piece.
Find out more about the tips and tricks

